Part 1 - Getting Started and Making the Head

It has been my long-time intention to make a tutorial, and finally, I have completed a series of how-tos for stumpwork portraits. They are inspired by Fay Maxwell, whose excellent book Ladies with Hatitude I warmly recommend.
The Tutorial can be found under the tag Stumpwork Portrait Tutorial at the top of the blog.

The first part is here. Let's get started.
First of all, I collect the following
MATERIAL
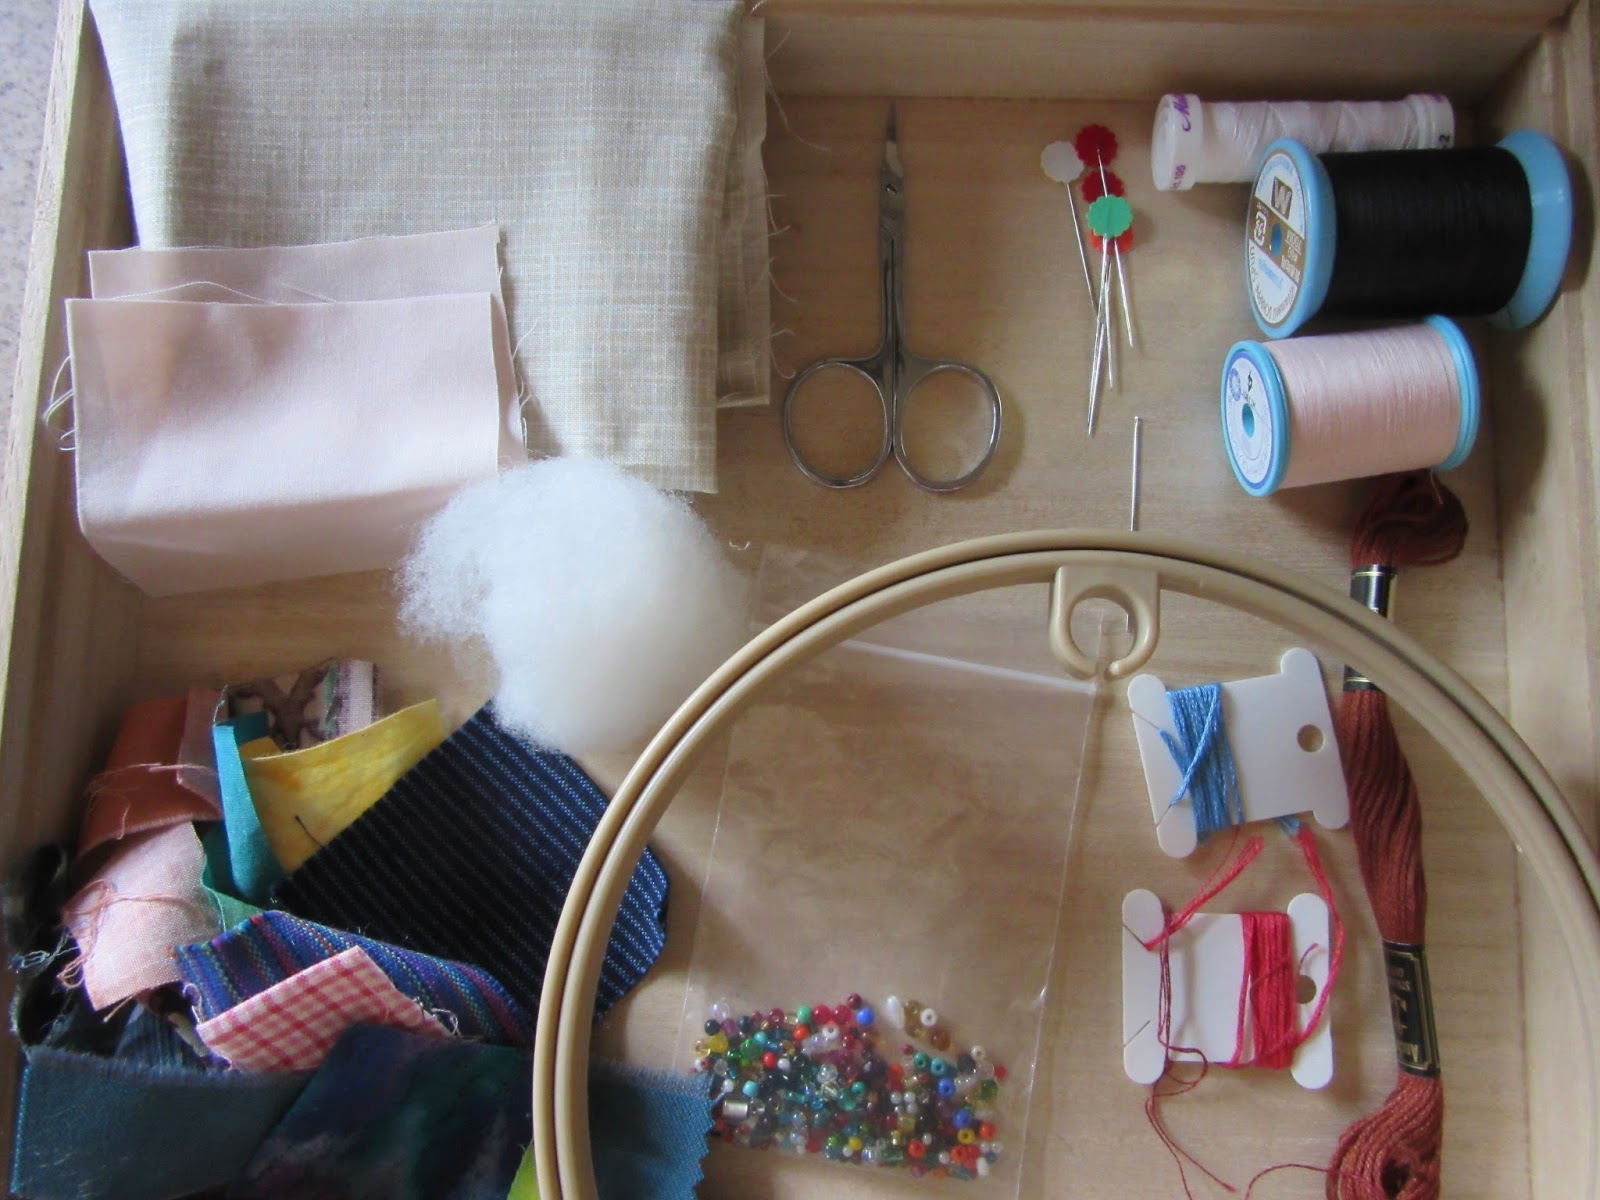
- Embroidery hoop
- Fabric for the background, enough to fit into the hoop
- Fabric for the face and neck
- A ball of wadding for stuffing
- Fabric scraps and ribbons for clothes
- Beads and buttons for decoration
- Sewing thread to match the skintone of the face
- Stranded floss for the outline of the eyes, eyelashes and eyebrows
- Stranded floss for the iris
- Black sewing thread
- White sewing thread
- Stranded floss, yarn, sari silk... any fiber for the hair
- Needles
- Pins
- Scissors
HEAD and NECK

Cut out a round or oval shape, stitch a line of Running Stitch along the edge.

Place a ball of wadding in the middle and pull the thread

Gather the fabric round the ball of wadding and stitch it shut.

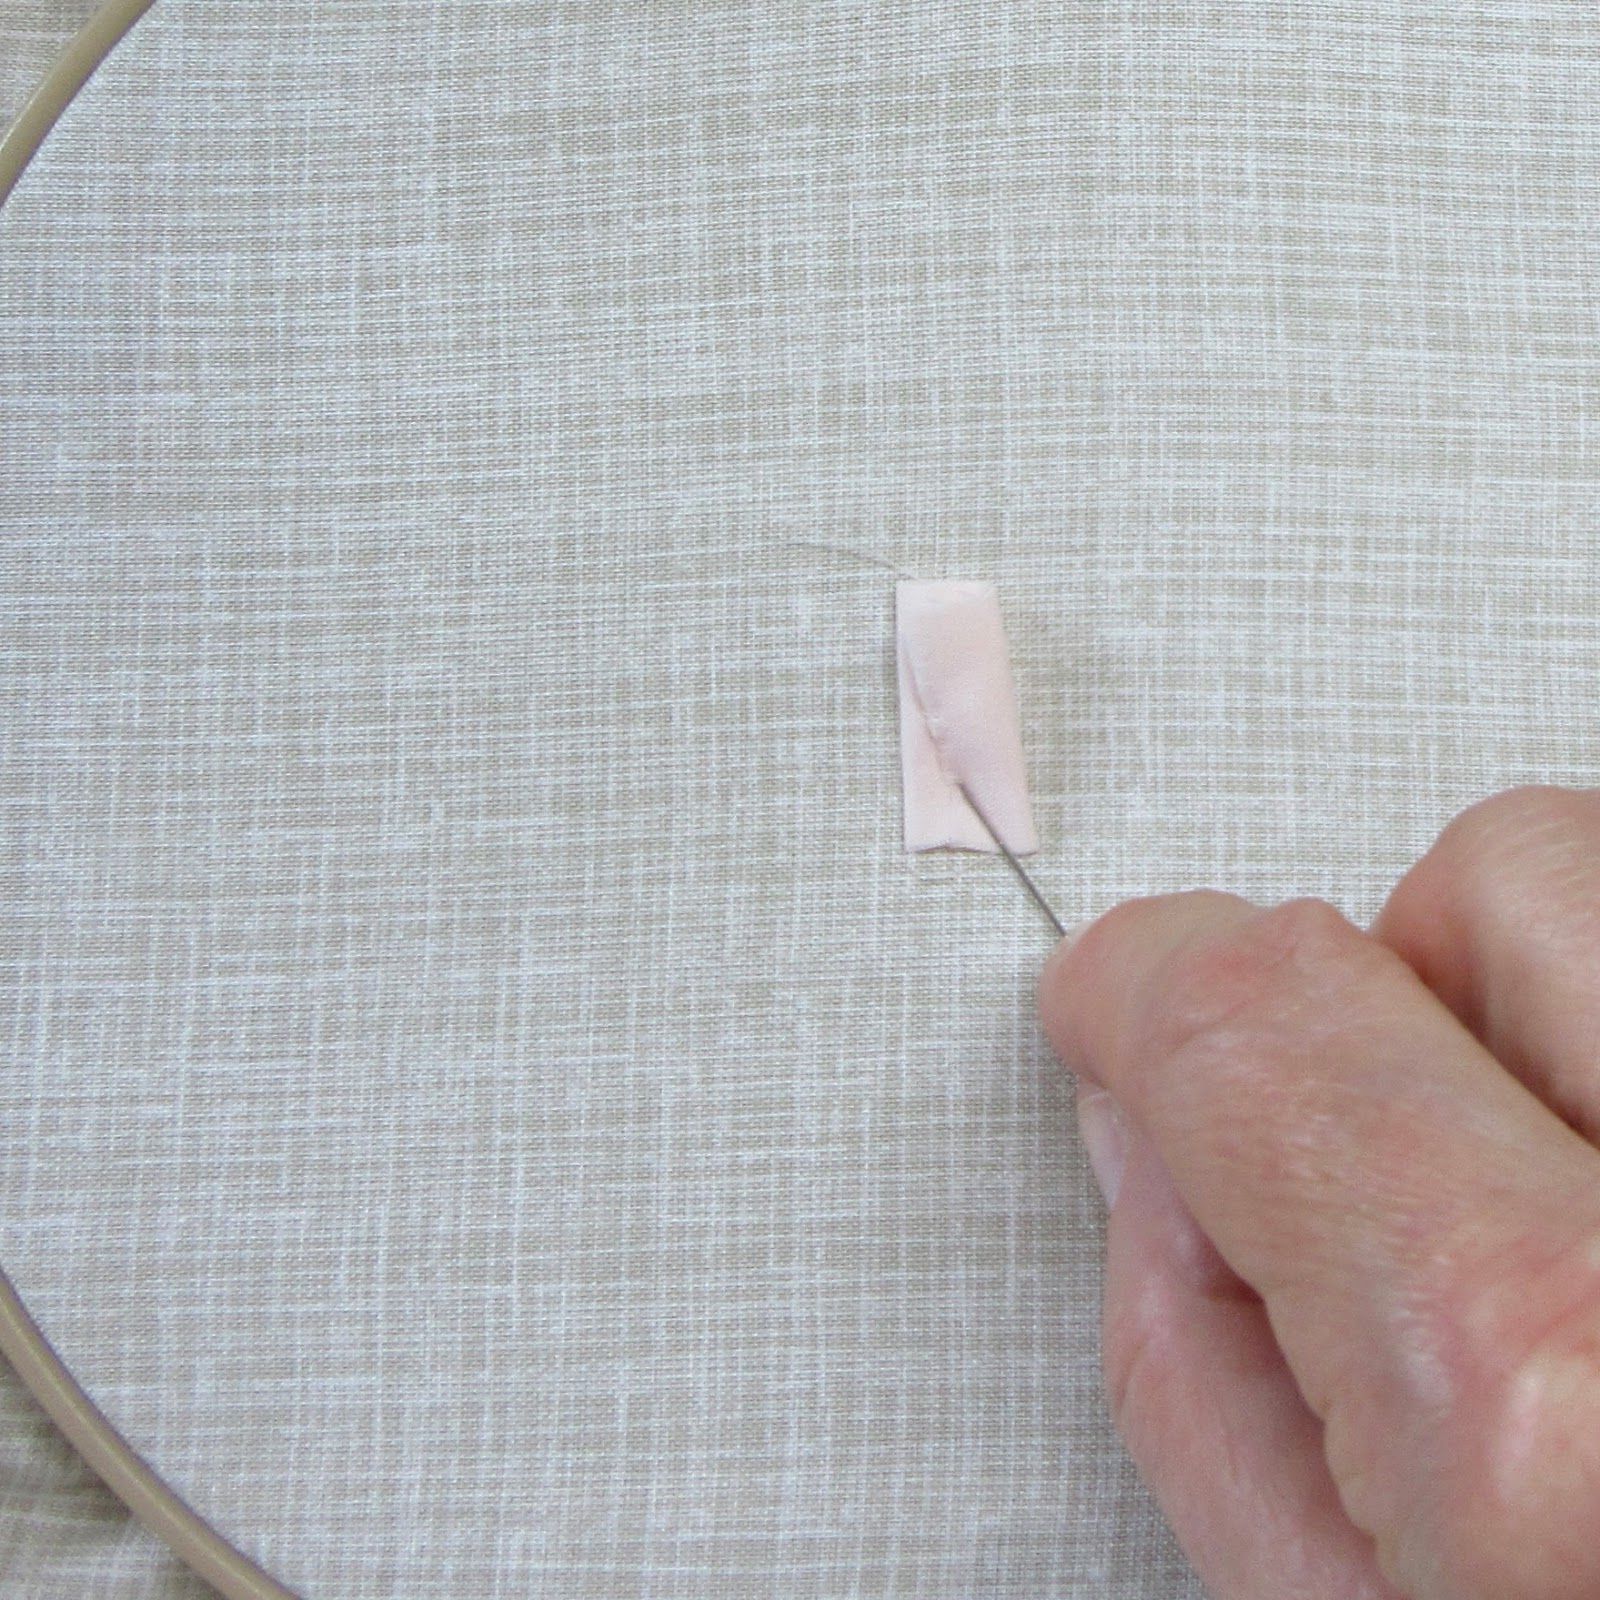
Fold the piece for the neck to a width that is in proportion to the head. Fix it to the background fabric with a pin.

Place the head on top of the neck.
Stitch the sides and top of the head to the background. Even out any puckers.

Next up, Part 2 - NOSE
which will be published in a couple of days' time.

0 Comments